Overview
This guide demonstrates how to set up a simple conversational agent using LangGraph in Python, connected to the Thesys C1 API endpoint. We’ll build a basic graph that manages message history, a dummy weather tool and streams responses back. All the messages are stored in-memory using Langgraph MemorySaver The complete code for this guide can be found in the Thesys examples repository.Backend Setup
Add Dependencies
Ensure LangGraph and its dependencies are in your
requirements.txt. You’ll need langchain-openai to interact with the Thesys C1 API endpoint.requirements.txt
Define the Graph (`graph.py`)
Create Model and Agent Node (Full Graph ImplementationThe rest of the
graph.py to define the agent’s structure and state management.Agent State (AgentState)The AgentState includes messages annotated with add_messages for automatic history updates, and a response_id string. This response_id is crucial as it’s passed from the @thesysai/genui-sdk frontend with each user message and needs to be assigned to the corresponding AI response message for the UI to track it correctly.graph.py (AgentState Definition)
call_model)Next, initialize the ChatOpenAI model, pointing it to your Thesys C1 API endpoint and binding any necessary tools. The call_model function invokes the model, and importantly, checks if the response is the final AIMessage which will be sent to User. If it is, it updates the assistant id with the response_id present in the state.graph.py (Model Init & call_model)
graph.py file involves setting up the ToolNode, defining the should_continue logic for routing between the agent and tools, building the StateGraph, adding nodes and edges, and finally compiling the graph with a MemorySaver checkpointer.Full graph.py Code
Full graph.py Code
graph.py
Implement Thread Service (`thread_service.py`)
Create Message Formatting and UpdatesThe service interacts with the compiled LangGraph Full Service Implementation
thread_service.py to handle thread metadata and message retrieval/updates for the UI.Thread Metadata StorageThis service uses an in-memory dictionary (_thread_metadata_store) to store thread metadata. The ThreadMetadata model holds the title and creation timestamp, while ThreadInfo is used for sending thread details to the client.thread_service.py (Metadata Models)
app to fetch and format messages for the UI (get_formatted_ui_messages) using app.aget_state, and to update messages within the graph’s state (update_message) using app.update_state.thread_service.py (Message Interaction)
Full thread_service.py Code
Full thread_service.py Code
thread_service.py
Define API Endpoints (`main.py`)
Create Thread Management EndpointsAdditional endpoints (
main.py to expose the LangGraph agent and thread management via a FastAPI application.Core Chat Streaming Endpoint (/chat)The primary endpoint is /chat. It receives the user’s prompt, the threadId, and the responseId (generated by GenUI). It uses an async generator stream_langgraph_events to interact with the compiled LangGraph app. This function constructs the input message, includes the response_id in the graph input, streams events using app.astream_events with the correct thread_id config, and yields only the content chunks from on_chat_model_stream events. The /chat endpoint returns a StreamingResponse.main.py (Core Chat Logic)
/threads, /threads/{thread_id}, /threads/{thread_id}/messages, /threads/{thread_id}/message) are defined to handle thread metadata (create, list, update, delete) and message operations (get history, update message content). These endpoints primarily call the corresponding functions implemented in thread_service.py.Full API ImplementationFull main.py Code
Full main.py Code
main.py
Frontend Setup
To connect a React frontend, use the@thesysai/genui-sdk components and hooks.
Integrate with Generative UI SDK (App.tsx)
Use the useThreadListManager and useThreadManager hooks from the SDK to manage threads and messages.
The example below shows how to initialize these hooks and pass them to the <C1Chat /> component. It also includes a useEffect to handle loading a specific thread based on a URL query parameter (threadId).
App.tsx
App.tsx
App.tsx
Running the Agent
Follow these steps to set up and run both the Python backend and the React frontend. 1. Backend Setup (Python/FastAPI)- Set API Key: Export your Thesys API key as an environment variable. Create a new key on the Thesys Console if you haven’t already.
- Install Dependencies: Navigate to your backend project directory in the terminal.
- Run Server: Start the FastAPI server.
The backend API will be available at
http://localhost:8000..
- Install Dependencies: Navigate to your frontend project directory (where
App.tsxandpackage.jsonare) in a separate terminal. - Run Development Server: Start the React development server.
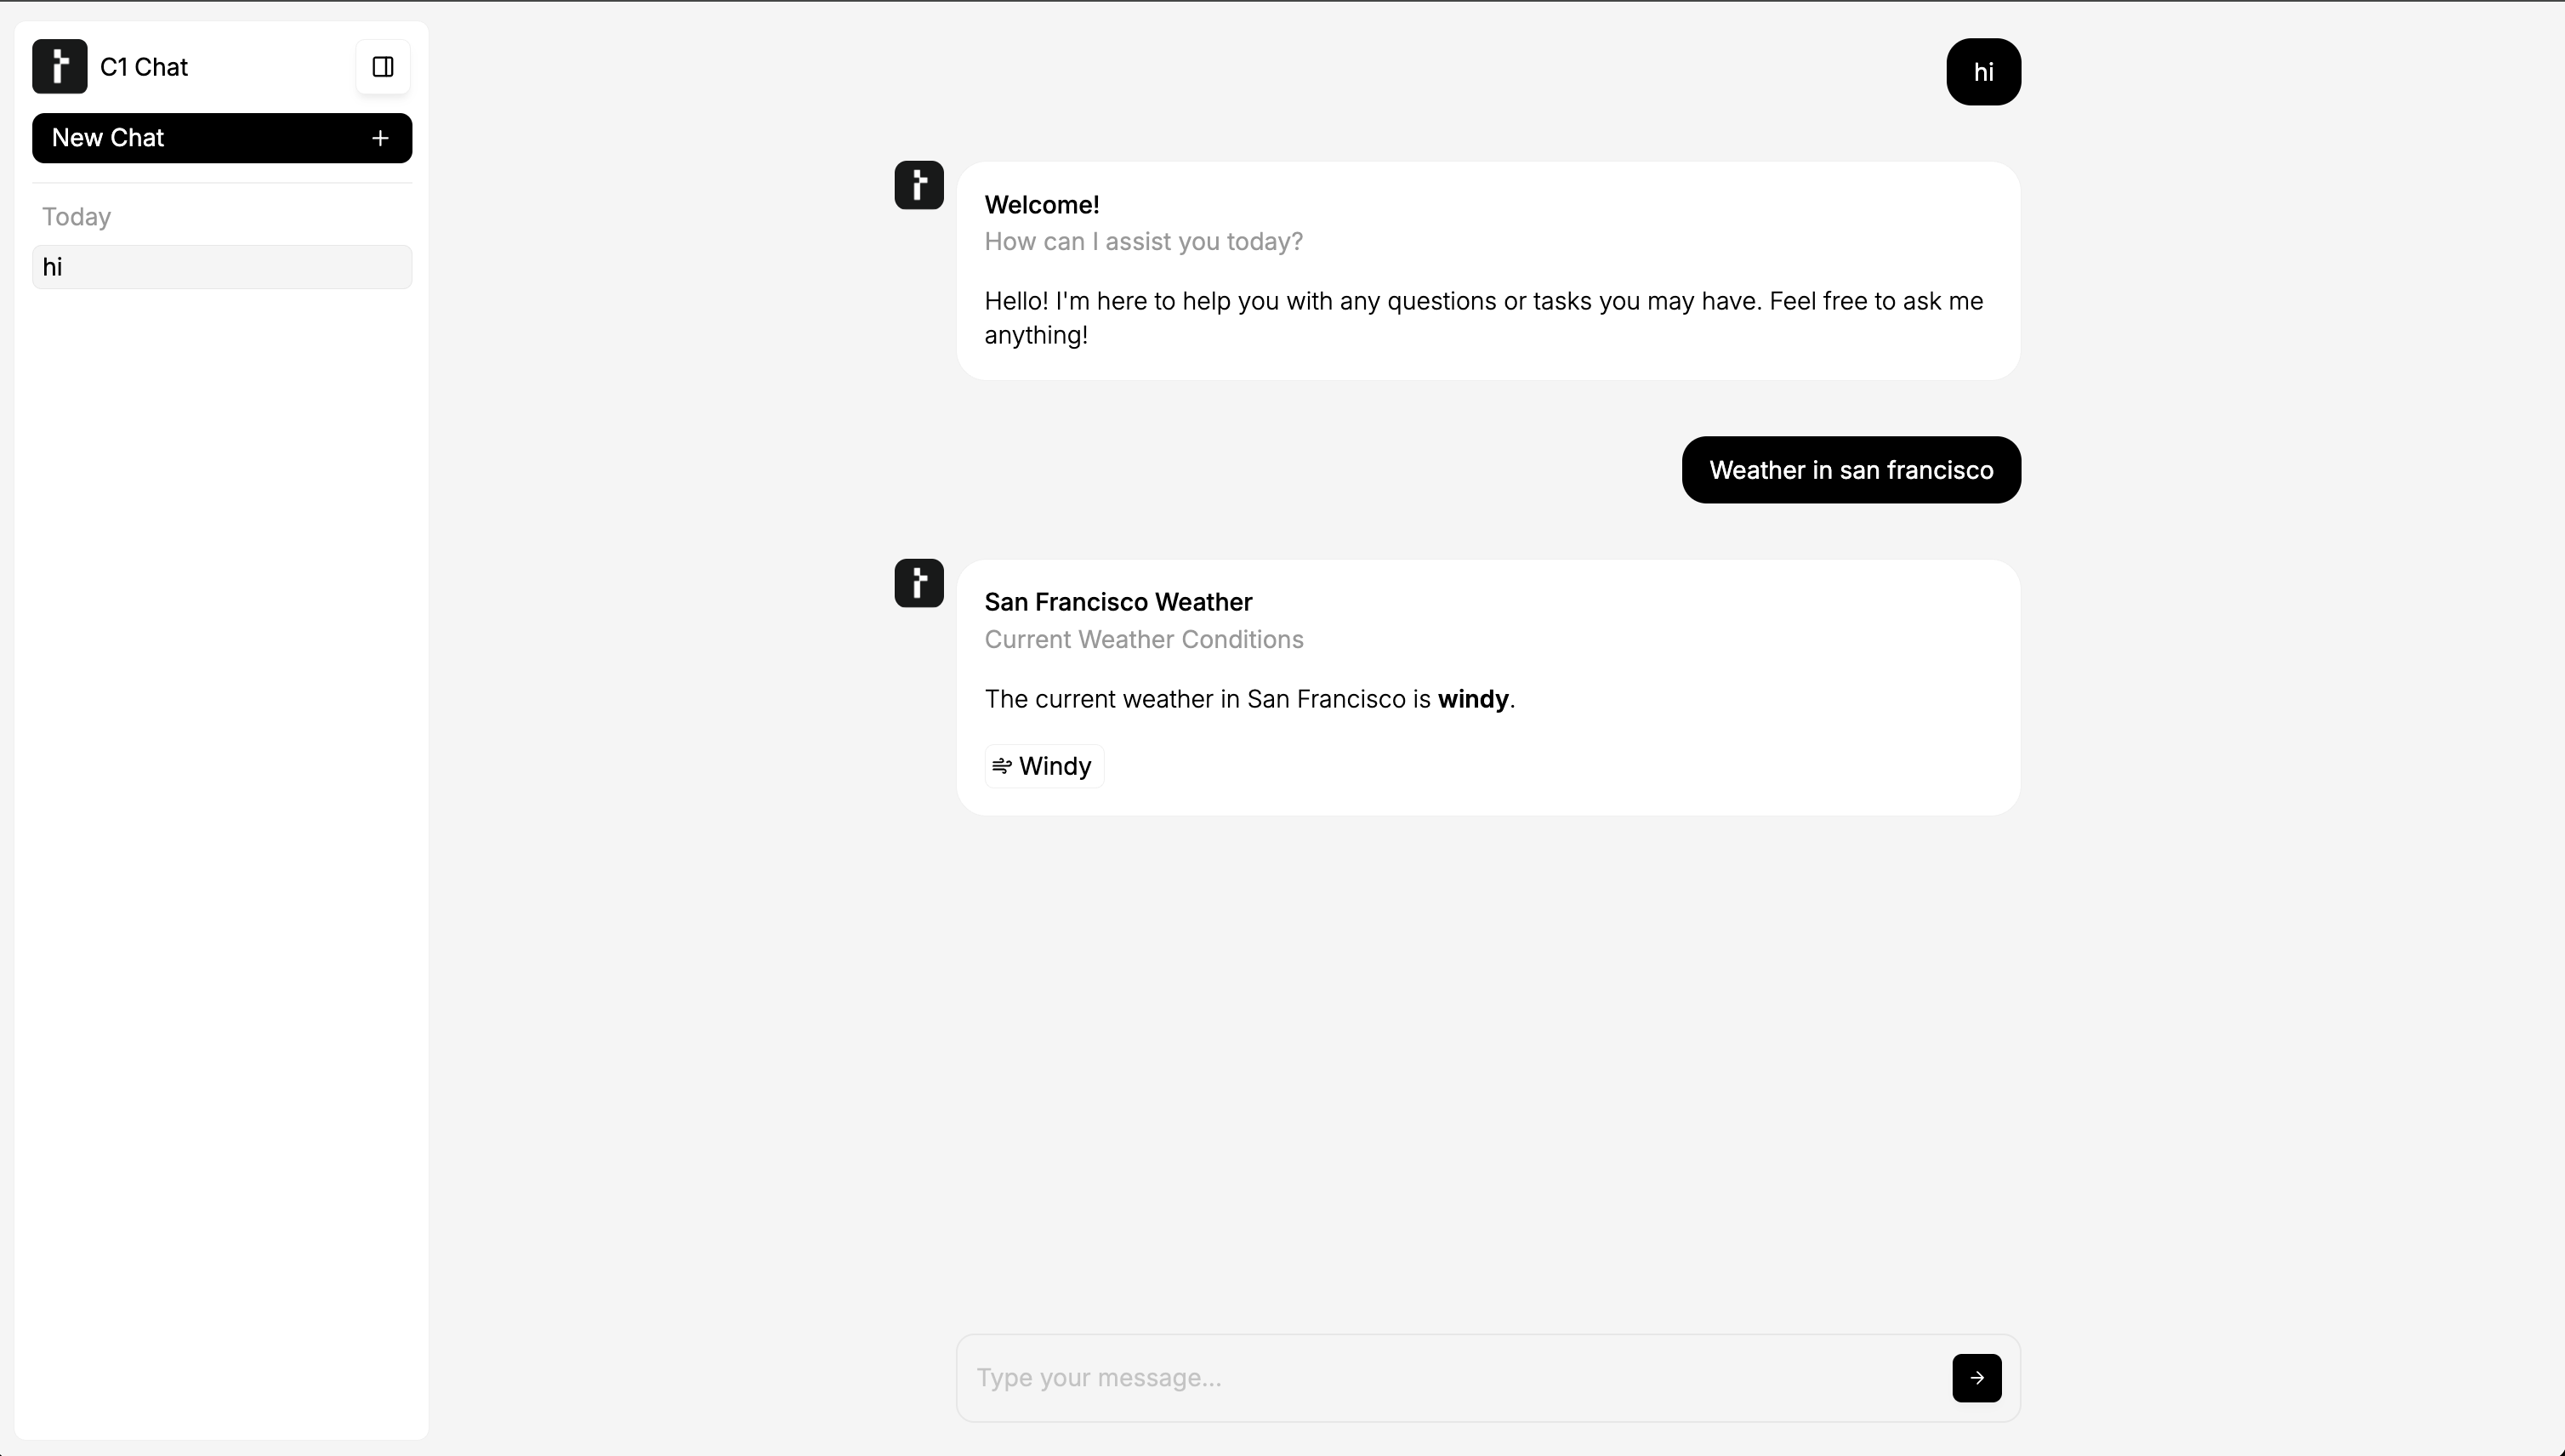
Open http://localhost:3000 (or the port specified by your setup) in your browser to view the chat interface.