Login to Render
Login to Render using GitHub or any other way you want. You may need to create an account if you do not have a Render account already.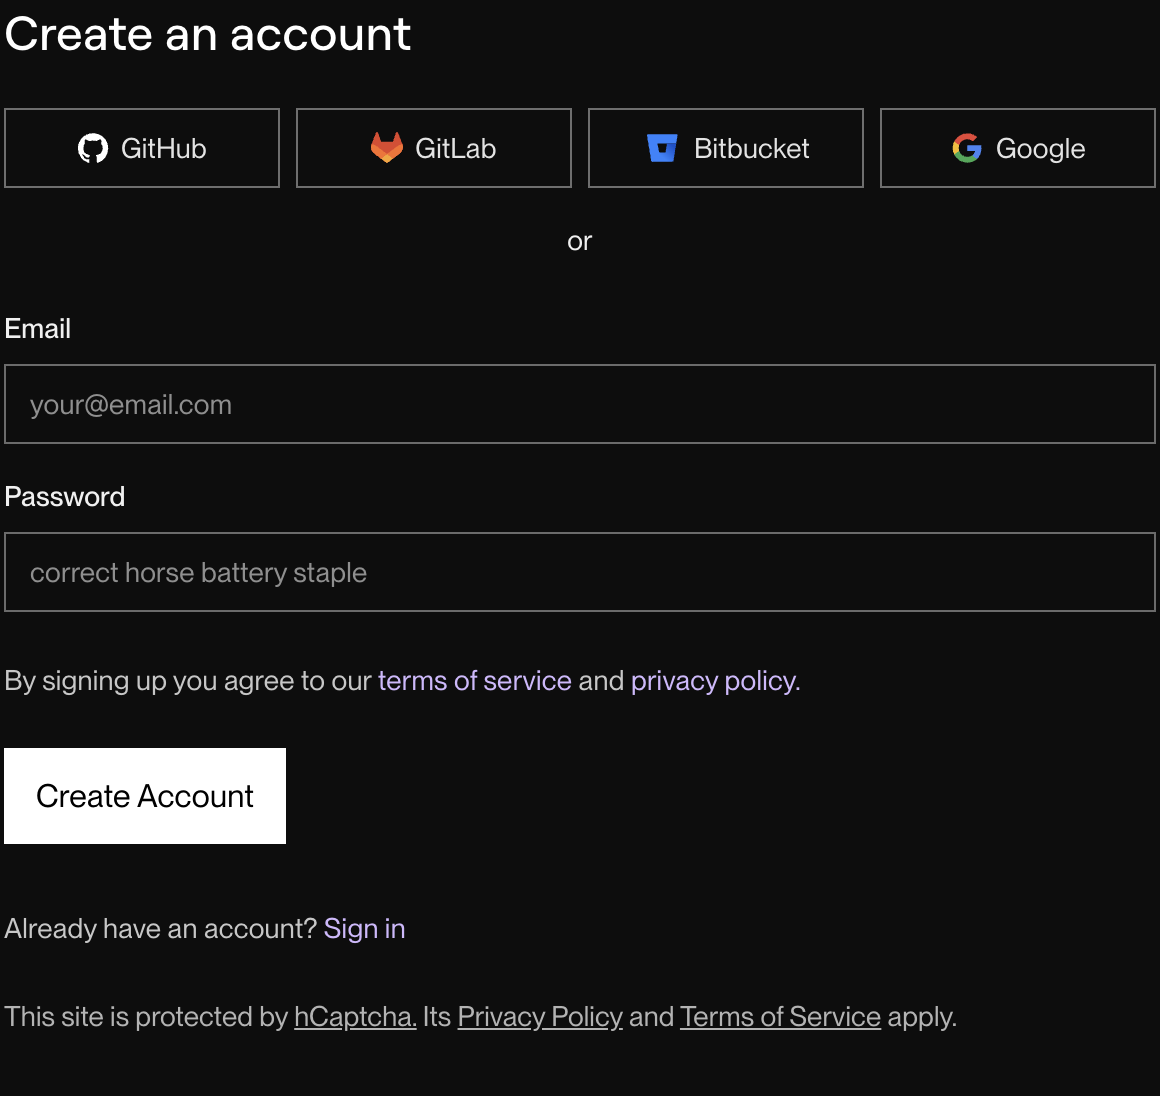
Create a new service
Create a new service to deploy your application. For a C1 application, select the “New Web Service” option.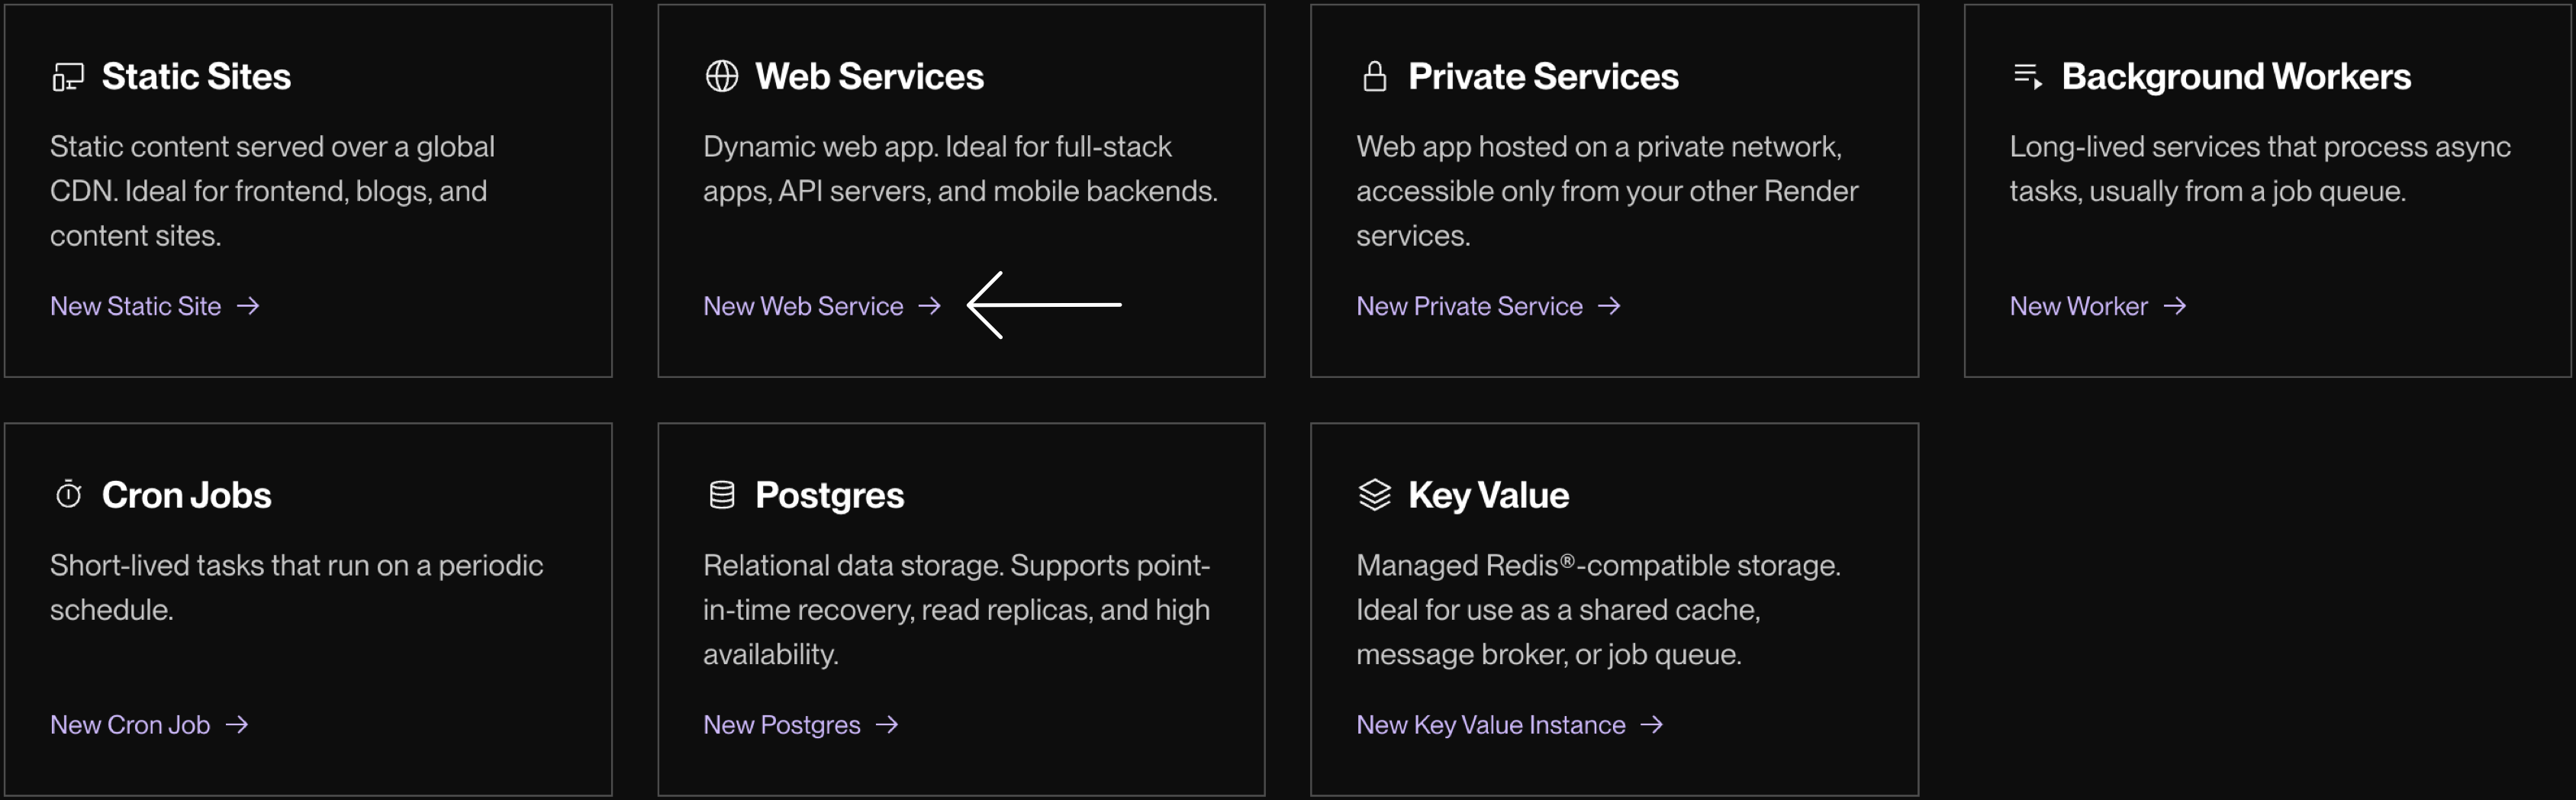
Give Render access to your repositories
Give Render access to your remote repositories. If you have your application in a GitHub repository, select the “GitHub” option to give Render permission to access your repositories.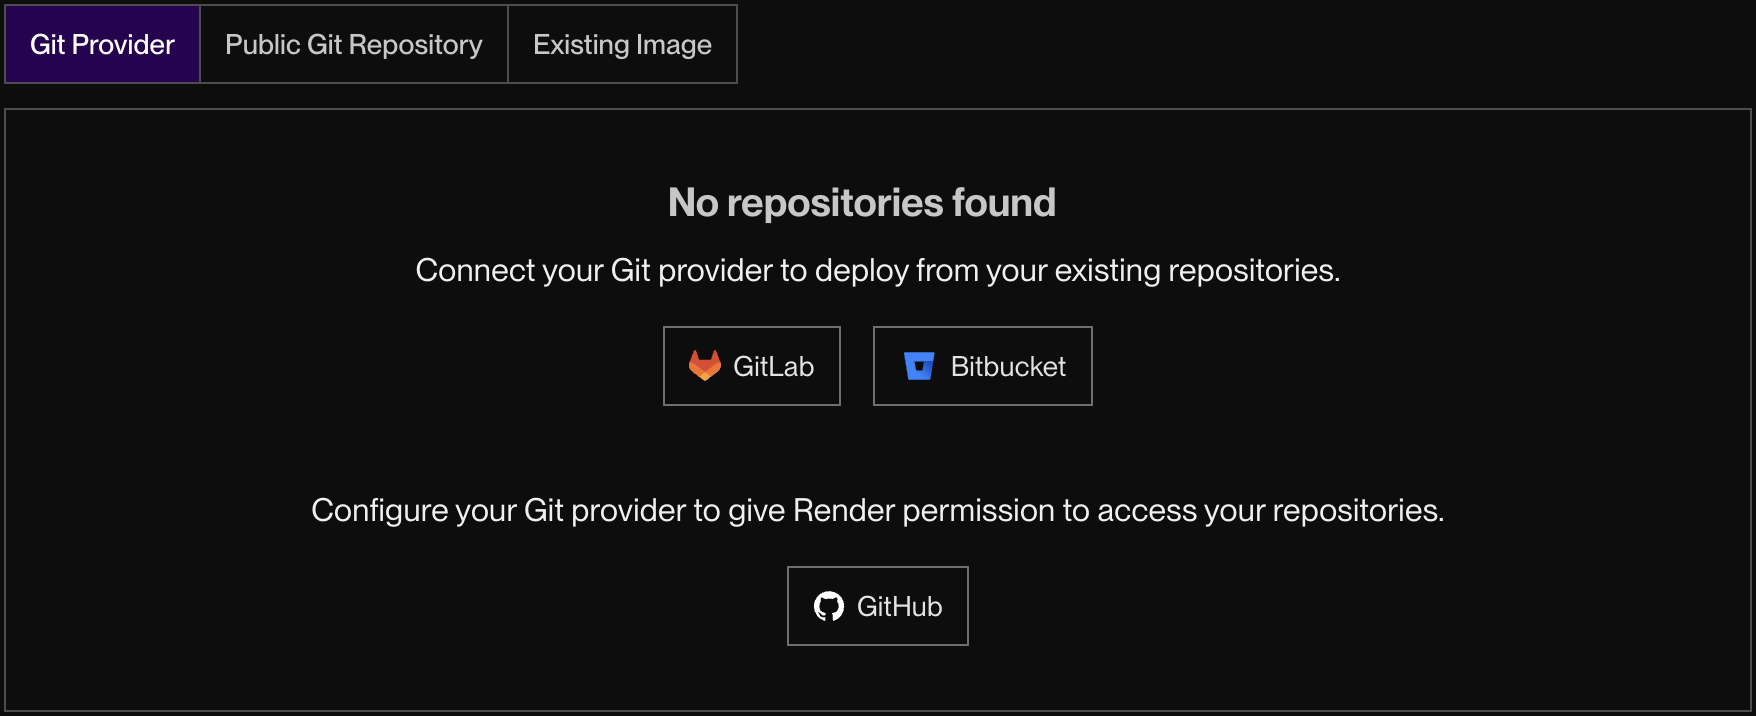
Select the application to deploy
Once Render has access to your repositories, select the C1 application repository you wish to deploy.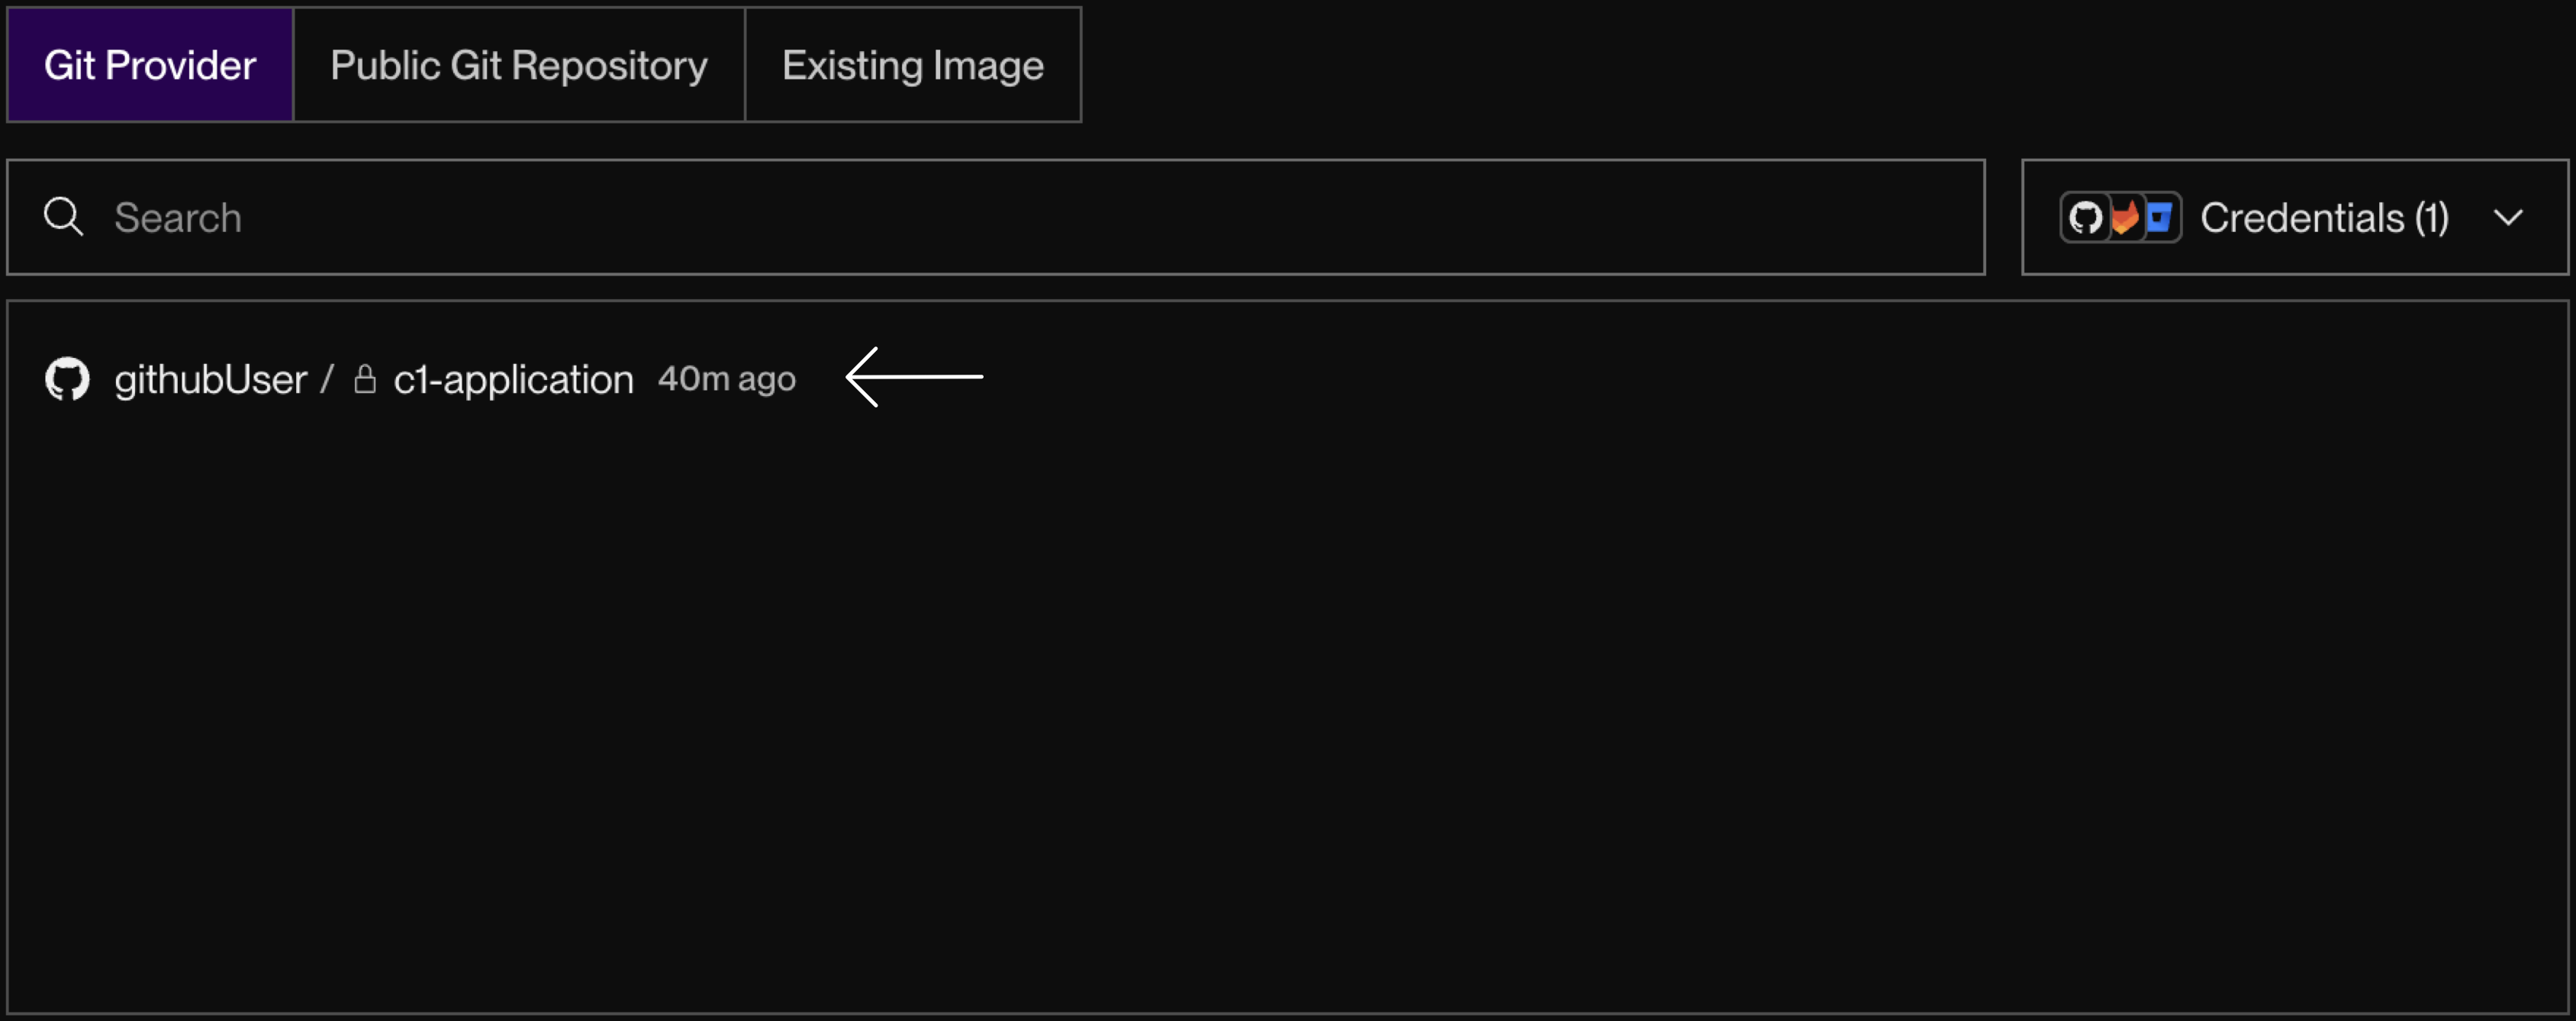
Configure the service
Configure the service by customizing the service name, region, and instance type. For a simple C1 application, the “Free” instance should suffice. Finally, add the
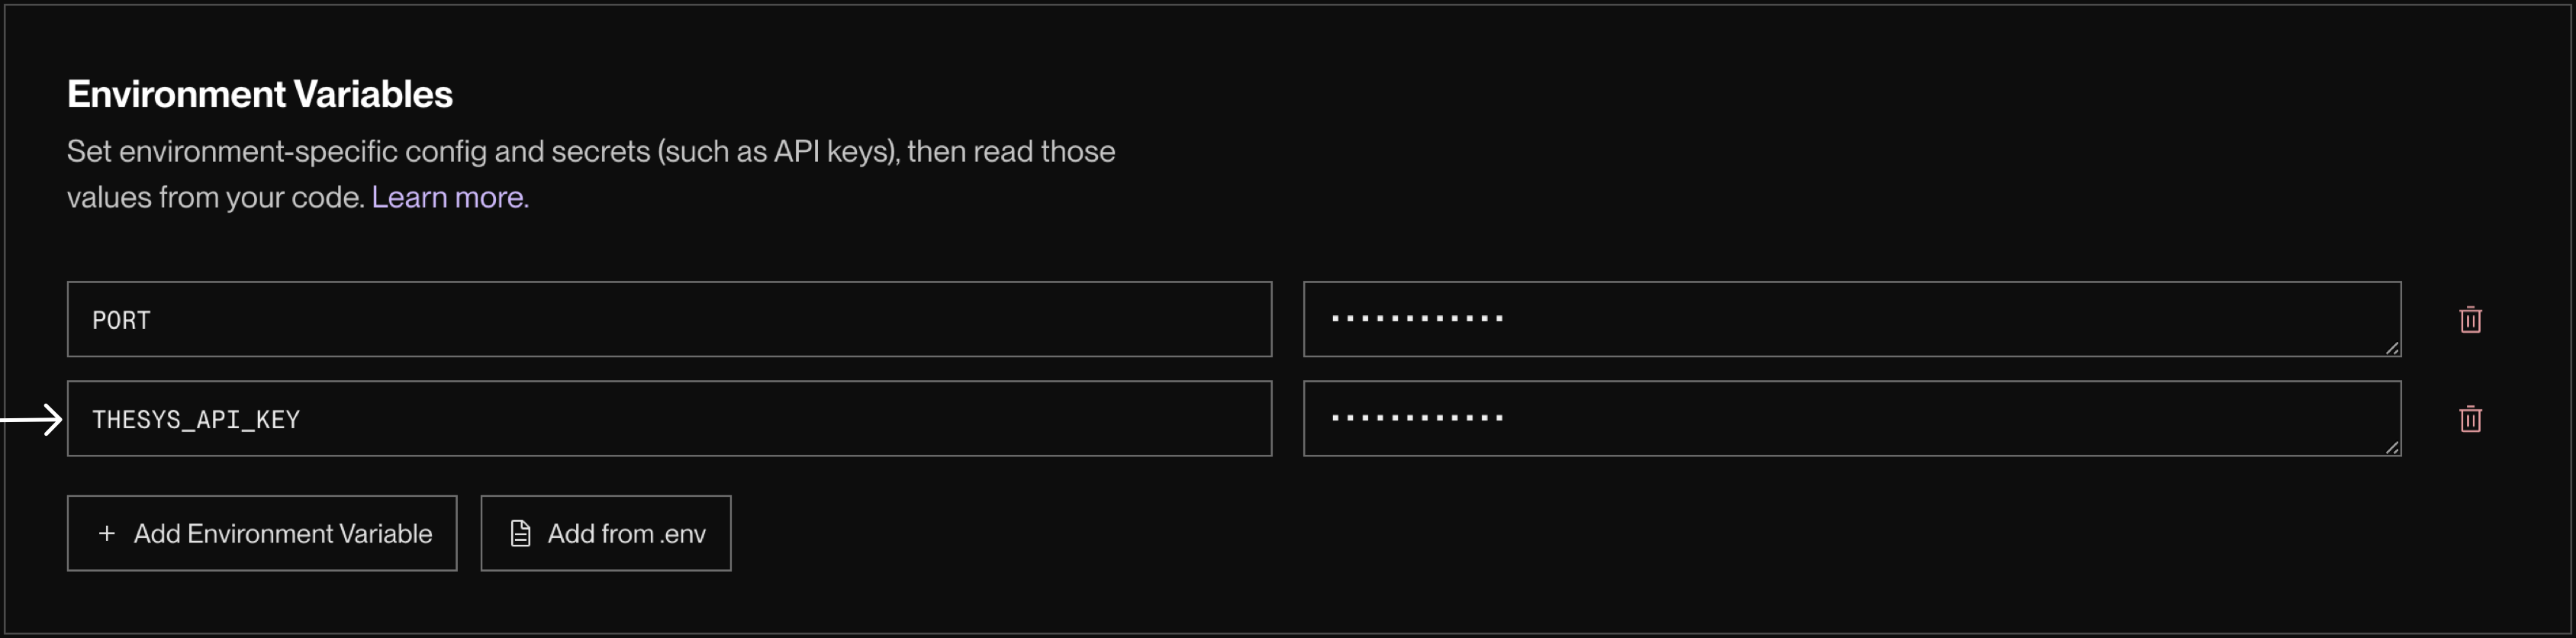
THESYS_API_KEY environment variable (and any other environment variables you need) to the service.